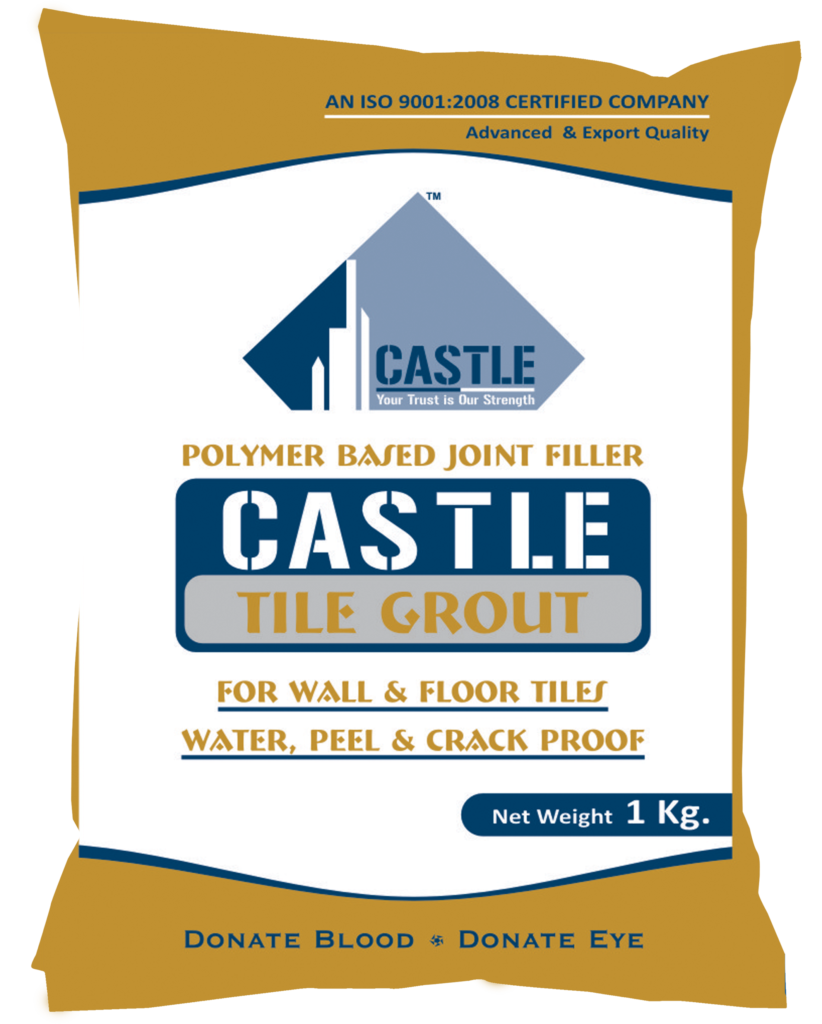
Castle
Tile Grout
“STRONG CEMENT-BASED TILE JOINT FILLER”
Castle Tile Grouts fillers are used in the space between ad joining tiles laid either on the floor or walls. Traditionally, tiling is done by placing tiles close with white cement used to fill the tile joints instead of tile grout. White cement tends to break easily, leading to dirty/ stained tile joints, water seepage and growth of fungus/ bacteria.
To overcome these problems, CASTLE has introduced an innovative range of grouts CASTLE tile grout polymer modified, cement-based tile grout used for filling the joints/ gap between the tiles. It effectively fills the gaps and gives water resistant, non-dusting tile joints. It is designed for grouting glazed, ceramic, porcelain, vitrified & fully vitrified tiles & natural stones.
Product Details
Castle Tile Grouts fillers are used in the space between ad joining tiles laid either on the floor or walls. Traditionally, tiling is done by placing tiles close with white cement used to fill the tile joints instead of tile grout.
USES & APPLICATIONS
- Tiles
- Stones
- Mosaics
| Features | Description |
|---|---|
| Product Type | Powder |
| Packaging | Available in 1Kg |
| Shelf Life | 12 Months from the date of manufacturing |
| Storage | Store in a dry place away from moisture |
PRECAUTIONS
- “CASTLE Tile Grout” should be filled in time, 24 hours after fixing of tiles with “CASTLE Tile Adhesive, CA-111/ CA-222/ CA-333”.
- Clean the joints with dry cotton cloth after 24 hour.
- Avoid contact with eyes.
- Keep it beyond children’s access.
- Avoid Moisture and store in a dry place.

Advantages of Grout
ADVANTAGES OF GROUT
-
Easy to apply & easy to clean
-
Stain free tile joints (Grouts)
-
Non- cracking or powdering
-
Non Shrink Material & Economical
-
Anti- fungal & anti- bacterial
-
Acid/ chemical resistant (epoxy based grouts only)
-
Available in range colors to suit your tile color
PREPARE
- Ensure 24 hours time interval for grouting after tile fixing.
- The joints must be dry, clean, free of dust & adhesive.
- Emptied at least 2/3 of the tile thickness depth.
- Before grouting, make sure that the installation the adhesive has set and released most of its moisture.
- The joints should not be wet during work.
- Put masking tape by side of grouting space or sealer if necessary.
- Tile grout must be clean free from any dust or other contaminants.
APPLY
-
Prepare a paste of Grout-Water ratio 3:1.
-
Wait for 10 minute for chemical activated.
-
Mix it further and apply the paste of fill joint.
-
Finally, remove surplus paste of grout with a damp sponge.
